How to prompt an AI video editor: start with the story
An AI video editor needs more than a request to make a video look good. It needs direction about the footage you have, the story you want to tell, and the details you want to preserve. Treat your first prompt as a brief for a rough cut, then review the result before asking for a visual style.
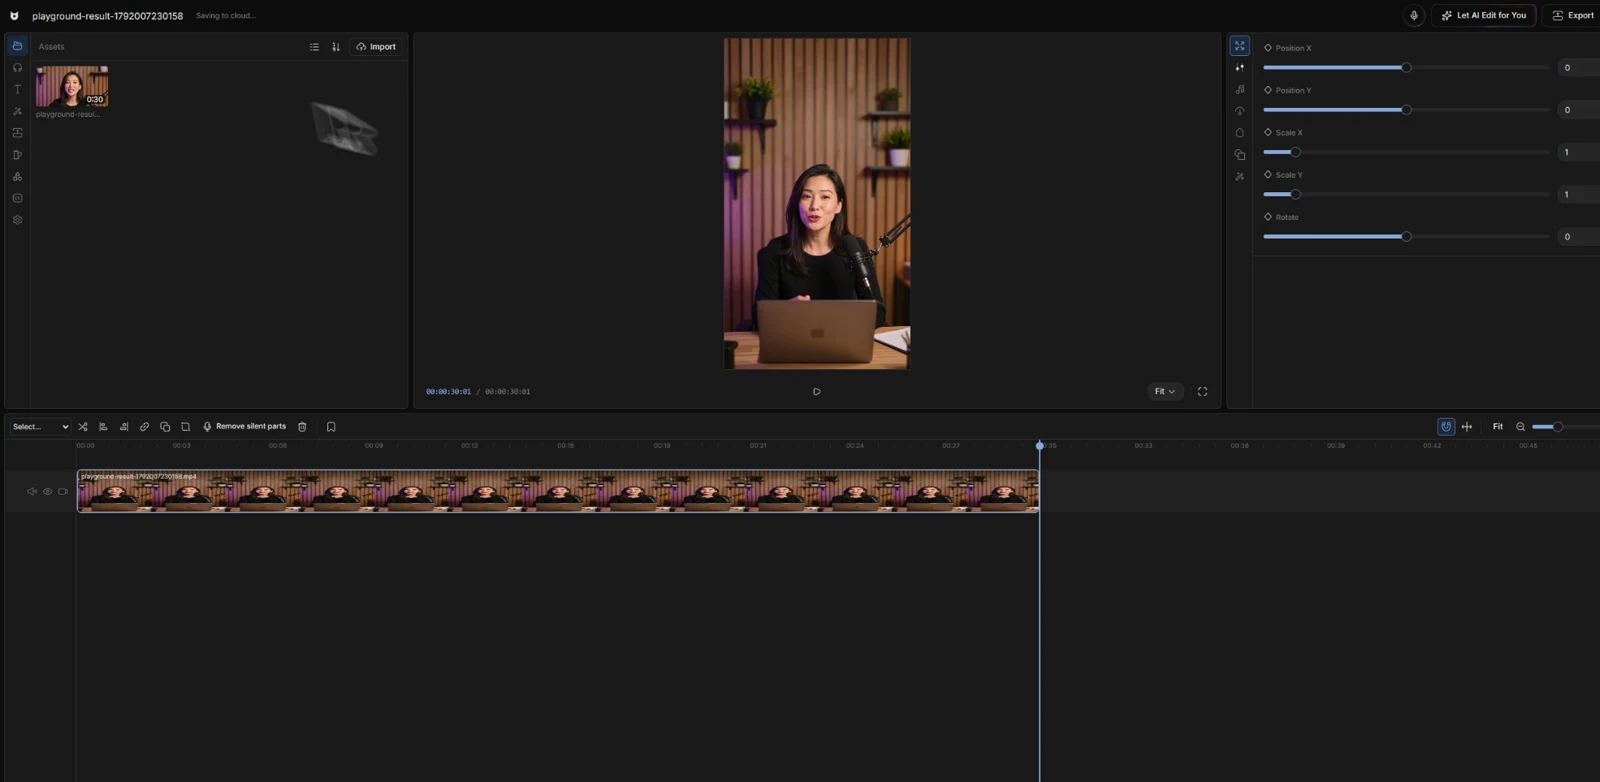
1. Describe the viewer and the purpose
Start with who will watch the video and what they should understand by the end. A product walkthrough for a first-time user needs different pacing from a short announcement for people who already know the product. Mention the destination and frame shape when they matter, but avoid assuming that a platform has one universal ideal video length.
Give a target duration as a goal rather than a reason to delete essential information. If the footage cannot support the brief, revise the brief or record another clip.
Create a short product introduction for a viewer who has never used our app. Use the uploaded clips. Aim for about 30 seconds in a vertical frame, and finish with the next step the viewer should take.
2. Give the edit a beginning, middle, and end
Name the opening moment you want to lead with. Then explain what information needs to follow and how the video should finish. This is more actionable than asking for an engaging hook without identifying which part of your footage contains one.
Review the rough cut for meaning before adding graphics. Moving a sentence can change its context. Removing a repeated take can also remove a qualification or an example that the audience needs.
Open with the finished result, follow with the two steps that produced it, and finish with the invitation to try it. Keep the explanation of what the feature cannot do. Do not invent dialogue or product claims.
3. Define pacing without losing the speaker's meaning
Explain which pauses feel accidental and which need room to breathe. Removing every gap can make a speaker sound rushed. Ask for repeated takes to be reduced while keeping the strongest complete version of each point.
Watch the edit with sound. Listen for clipped consonants, abrupt breaths, music competing with speech, and transitions that interrupt a thought. A shorter timeline is useful only if the message still makes sense.
Tighten long accidental pauses and remove duplicate takes. Preserve natural breaths, complete sentences, and the pause before the reveal. Keep the original meaning.
4. Make caption and graphic instructions specific
Specify a readable caption treatment rather than asking for viral captions. Name the amount of text on screen, the contrast, and which words deserve emphasis. Give graphic elements a job: introduce a section, label a step, or explain a detail.
If you use a reference, describe the traits you want to borrow: restrained typography, a slower rhythm, or simple title animation. A reference is creative direction; it is not permission to copy someone else's footage, branding, or protected assets.
Use high-contrast captions with short phrases. Emphasize the feature name once. Add a simple title at the start and labels for the two steps. Keep graphics clear of the face and product controls.
5. Refine one problem at a time
After the first pass, separate story problems from styling problems. First fix a missing point or a weak opening. Then adjust captions, graphics, sound, and transitions. A follow-up prompt that changes everything at once makes it harder to tell which instruction helped.
Use a timestamp or a recognizable sentence when giving feedback. Before exporting, review the whole video for accurate wording, timing, crop, audio, and the final frame. Keep your original source footage so you can revisit the edit.
Keep the current order and caption style. After the sentence about setup, hold the product shot a little longer so the viewer can read the screen.
A reusable editing brief
Combine the audience, story, pacing, style, and constraints into a brief you can adapt for the next project. Replace vague adjectives with observable choices and leave room to review the result.
Viewcat is being built around editing your own footage with prompts, reference styles, captions, and an editable timeline. Public access is still coming soon; this guide describes an editing approach, not a guarantee that every instruction will be supported by every AI editor.
Audience: first-time users. Goal: explain one feature. Footage: uploaded clips only. Story: result, two steps, next action. Pacing: remove accidental pauses, preserve meaning. Captions: short, high contrast. Graphics: one title and two labels. Constraints: no invented claims; keep the source footage.