How to Edit Videos With AI, Using Footage You Already Have
To edit a video with AI, import your footage, ask for a specific change, and review the result on the timeline. Start with the story and pacing. Add captions, effects, and supporting shots once the cut makes sense. Your first project can be a short talking-head clip; you do not need to hand over an entire YouTube video at once.
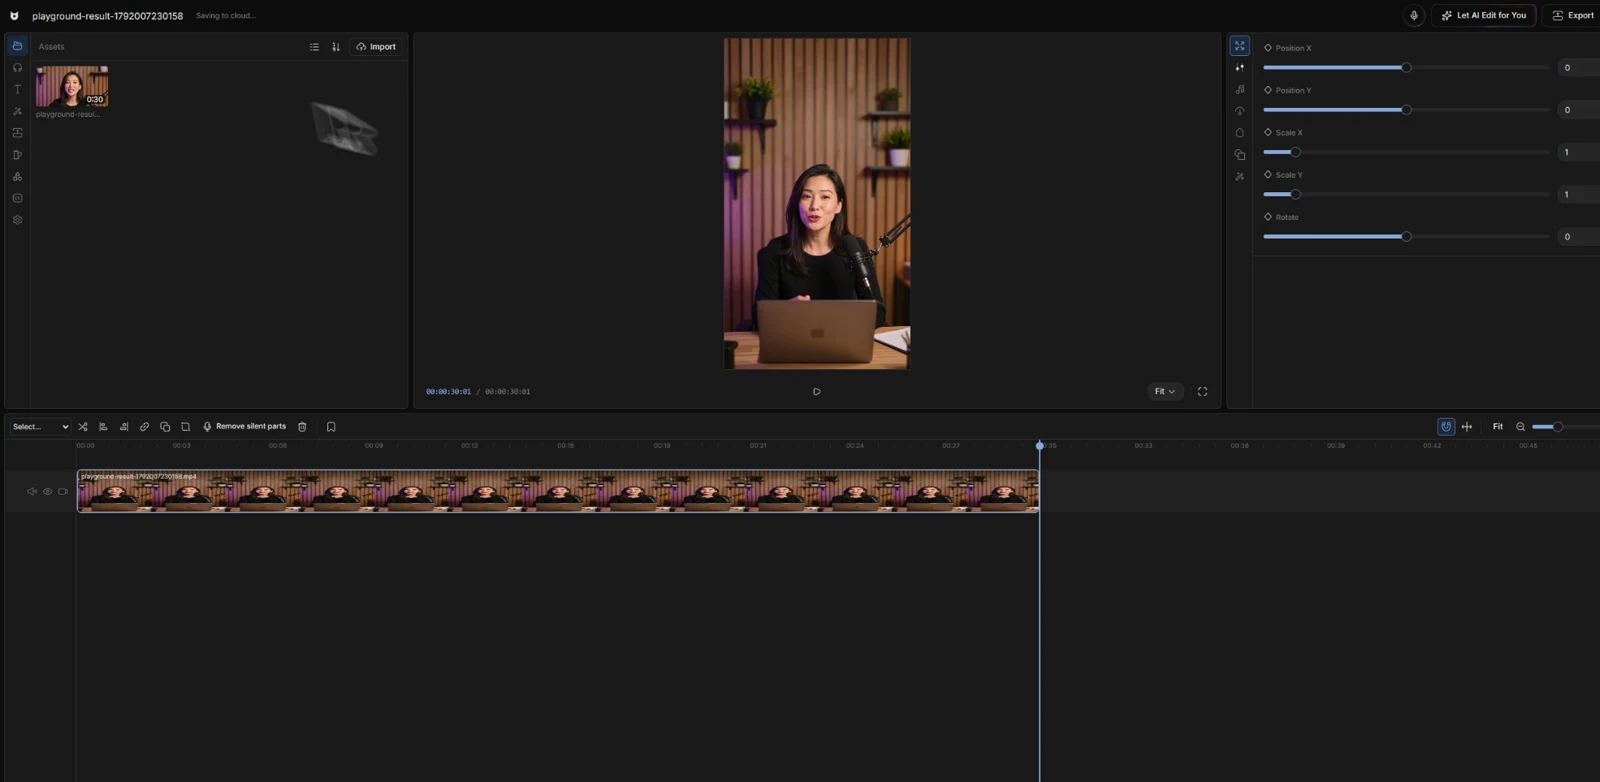
Start with the video you want to make
Suppose you recorded a useful explanation, but the opening takes too long, you repeat a sentence, and one point would be clearer with a supporting shot. Those are three editing decisions. Write them down before asking an editor to improve the video.
Keep a copy of the original footage. Watch it once and identify the strongest complete version of each point. A pause before a reveal might belong in the edit; a pause while you search for the next sentence might not.
- Choose the moment that should open the video.
- List the points the viewer needs to understand, in order.
- Decide where the video will appear and which frame shape it needs.
- Pick one job for AI to handle first: captions, a rough cut, or a visual adjustment.
Choose an editor that works with your footage
Search results mix tools that generate new videos with tools that edit recordings you already have. If you are editing a tutorial, interview, or camera recording, look for an import workflow and controls for correcting the result.
Descript offers transcript-based video editing. VEED combines browser editing with AI tools. The useful question is whether the tool can handle your source footage and let you fix an awkward cut, rather than how many AI features appear on its homepage.
Before choosing, check caption correction, timeline access, and the export terms of the plan you intend to use. Our AI video editor comparison breaks the choice down by editing job.
Give one useful direction at a time
A request like “make this engaging” leaves nearly every decision open. Name the moment, the change, and what should stay as it is. For a talking-head clip, your first visual instruction could be:
Add a gentle zoom when I introduce the main idea. Keep the current clip order and caption style. Leave the rest of the video alone.
Viewcat’s development demo uses a shorter request: “Can you add some zoom-ins in my video?” An effects layer then appears on the timeline. For your own project, a timing cue gives the editor more direction and gives you a specific moment to review.
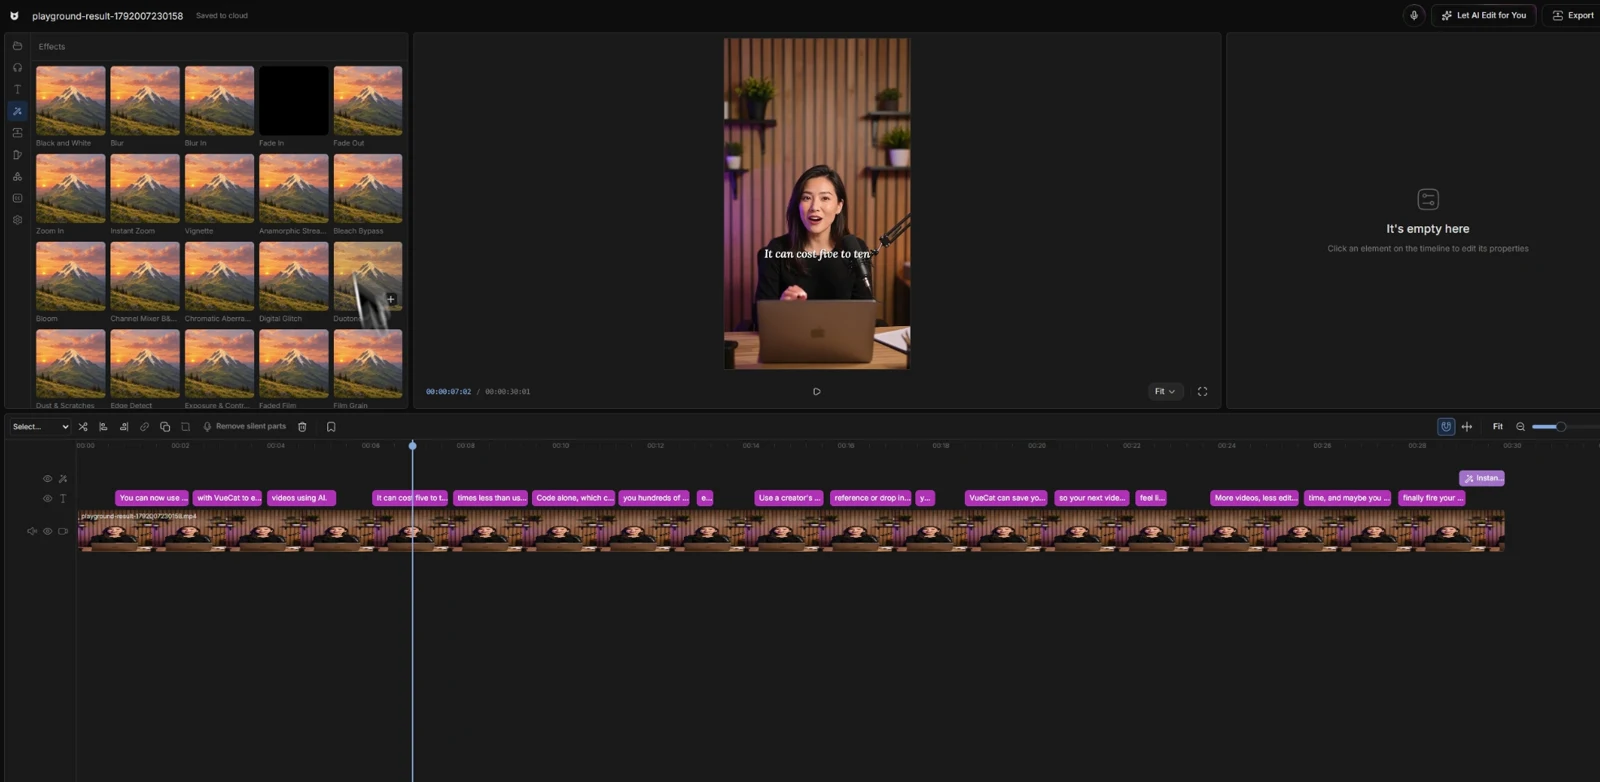
Play the changed section before making another request. If the zoom arrives too early, fix that timing first. Our editing prompt guide has a reusable brief for story, pacing, and styling.
Generate captions, then check the words
Automatic captions are a first pass. Listen for names, numbers, product terms, and a missing “not.” Correct the wording before spending time on animation or color; a beautifully styled error is still an error.
Then check the breaks between phrases and the position of the text. A caption that looks comfortable in a large editor preview can feel crowded on a phone. Keep it clear of faces and the detail the viewer is supposed to see.
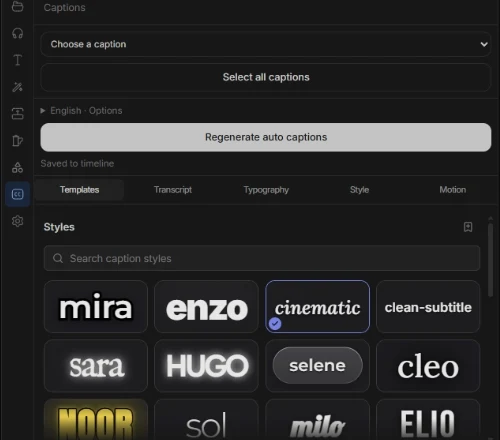
- Listen while reading the captions to catch transcription mistakes.
- Check a narrow viewing size for line breaks and placement.
- Watch a short section muted to see whether the text is easy to follow.
Use B-roll when it explains something
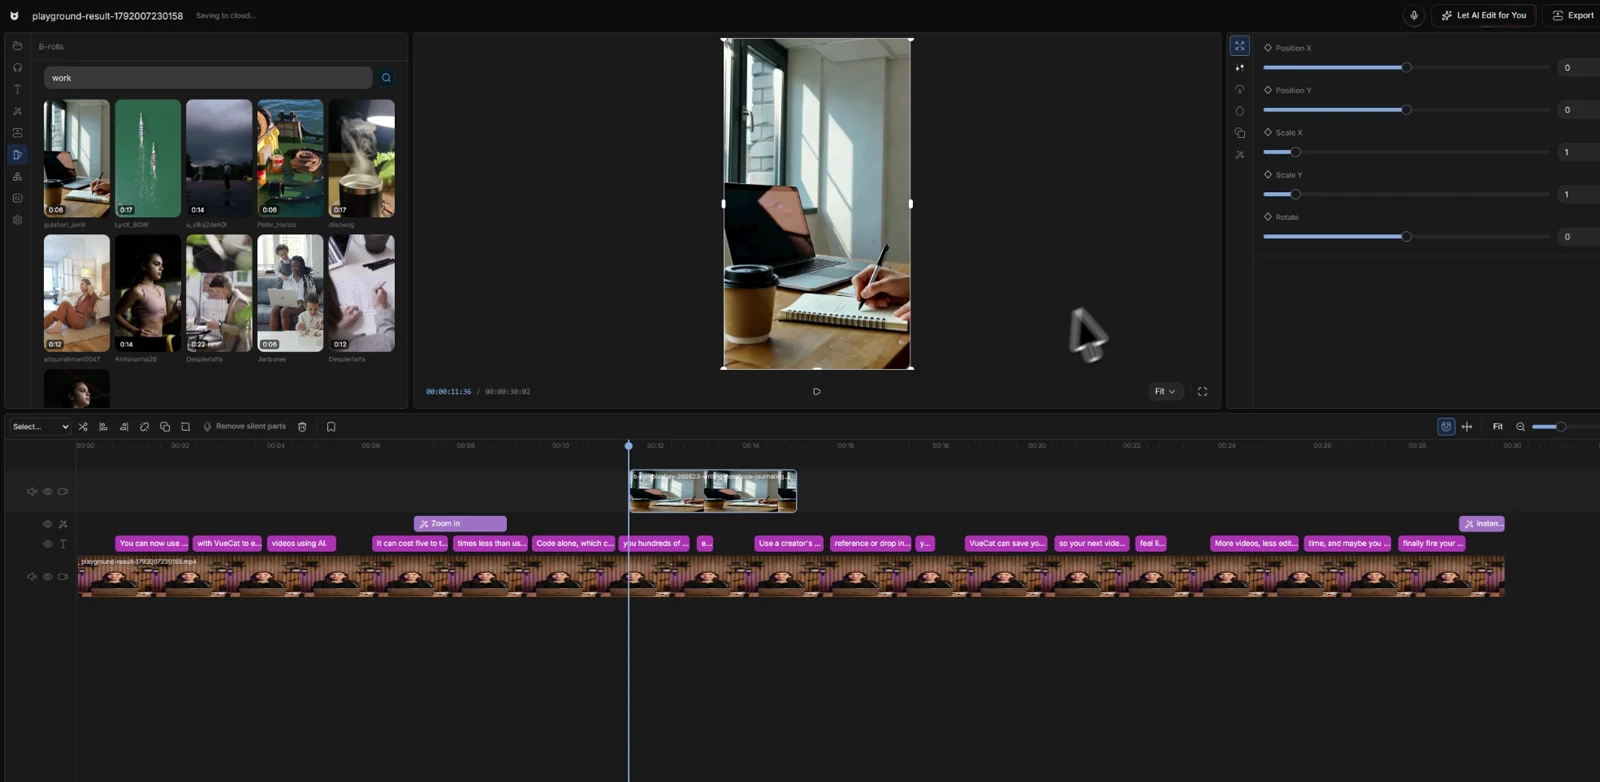
If you say “write down your three main points,” a shot of a notebook can help. An unrelated stock clip might add movement while making the explanation harder to follow. Give each supporting shot a reason to be there.
The Viewcat demo shows B-roll search and a clip placed above the main footage. After adding a shot, inspect its start and end, crop, and relationship to the narration. Do not assume that finding a relevant clip also settles those decisions.
Know which steps are free
Viewcat’s planned free editor lets you upload and edit footage, enter captions manually one at a time, and work with effects, transitions, and B-roll. Mic mode, automatic captions, and Let AI edit for you—including cleanup and HyperFrames—are planned paid features.
You can follow the same story-first approach with manual tools. If automatic transcription or AI-driven editing is essential to your workflow, check that the plan includes it. The free editor guide explains how to compare those boundaries.
Watch the whole cut before exporting
Make one pass for the story: does the opening lead naturally into the explanation, and does each sentence still mean what the speaker intended? Make a second pass for details: caption timing, clipped words, sudden zooms, B-roll placement, and the final frame.
Watch at normal playback speed. Inspect the export settings and plan limits before committing to a longer project. The supplied Viewcat demo does not show a completed export, so these screenshots do not establish output quality or export limits.
For your first AI-assisted edit, finish one short clip with one deliberate change. You will learn more from reviewing that result than from giving ten instructions and trying to untangle them afterward.
Sources and further reading
Product details checked 2026-10-15. Plans can change.